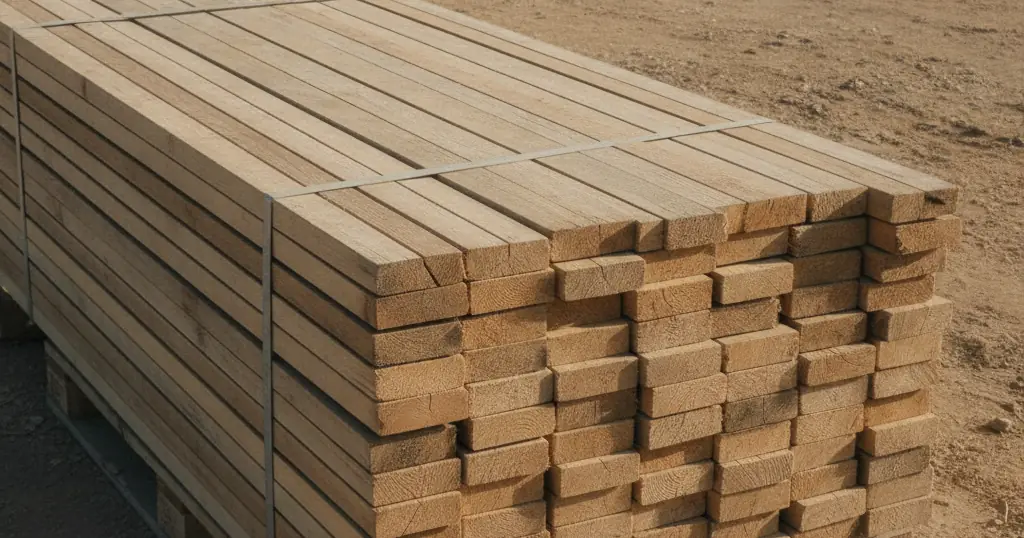
Fixing and levelling facade battens through insulation - EiSYS-2
A timber ventilated facade stands on battens fixed to the wall through the insulation - and walls are rarely flat. This guide shows how to fix and level facade battens with the EiSYS-2 adjustable facade screw, without wedges, packers or brackets: length table and the manufacturer’s installation sequence.
How to fix facade battens through insulation - short answer
How to fix a timber facade substructure through the insulation - in five points:
- Take the length from the manufacturer’s table. The table assumes a 40 mm batten: 200 mm of mineral wool needs a 338 mm screw. It covers insulation from 60 to 280 mm (screws 198 to 418 mm). Other cases: ask us.
- Order three items, not one. The screw, the Ø 10 × 130 mm plug for masonry or concrete, and the EiSYS-2 bit, without which the sleeve cannot be adjusted.
- Check the wall before ordering, not after. The plug holds by expansion, so the wall material affects every point’s capacity.
- Set the plane across the whole wall. From site practice: anchor the screws, mark the plane with a string line, then adjust the battens.
- Fix the cladding with a separate fastener. EiSYS-2 fixes the substructure; the board fastener is chosen for the timber species, not the head colour.
What this list does not replace: design. Number and spacing of fixing points follow from cladding weight, wind zone, building height and plug capacity in your wall.
How the batten frame on insulation is built
The whole substructure - batten direction, counter-battens, ventilation gap, batten timber and fixing the boards - is covered in the guide timber cladding substructure. This section is about battens standing on insulation.
From the wall outwards:
- Load-bearing wall - concrete, brick, sand-lime brick, perforated brick or timber frame.
- Insulation - usually mineral wool. It carries nothing, so the fastener passes through it.
- Batten (in the manufacturer’s documentation: counter batten) - the timber member the screw holds and brings into plane.
- Ventilation gap - per DIN 18516-1 at least 20 mm deep, with inlet and outlet openings of at least 50 cm² per running metre of wall.
- Cladding - the facade board on the battens or a cross battening.
The manufacturer intends EiSYS-2 for vertical and horizontal substructures, with pressure-resistant and non-pressure-resistant insulation. Batten spacing comes from the cladding instructions.
Levelling battens without wedges or packers
Uneven walls are usually corrected with plywood packers or wedges under each batten.
With the adjustable screw the batten-to-wall distance is set after anchoring, by the freely rotating threaded sleeve at the head (diameter 15.5 mm), which moves the batten forward or back regardless of deviations in the masonry.
For larger wall distances and higher loads the manufacturer provides a truss-type screw arrangement in which the screws work at an angle. It does not replace the length table or cover insulation over 280 mm.
Length table by insulation thickness
Ø 7.2 mm, 90 mm anchoring thread, twelve lengths in 20 mm steps. The manufacturer gives the maximum insulation thickness with a 40 mm batten:
| EiSYS-2 screw | Insulation up to | Item no. |
|---|---|---|
| 7.2 × 198 mm | 60 mm | 945935 |
| 7.2 × 218 mm | 80 mm | 945925 |
| 7.2 × 238 mm | 100 mm | 945926 |
| 7.2 × 258 mm | 120 mm | 945927 |
| 7.2 × 278 mm | 140 mm | 945928 |
| 7.2 × 298 mm | 160 mm | 945929 |
| 7.2 × 318 mm | 180 mm | 945474 |
| 7.2 × 338 mm | 200 mm | 945930 |
| 7.2 × 358 mm | 220 mm | 945931 |
| 7.2 × 378 mm | 240 mm | 945932 |
| 7.2 × 398 mm | 260 mm | 945933 |
| 7.2 × 418 mm | 280 mm | 945934 |
In every row the screw is 138 mm longer than the insulation: the 40 mm batten plus anchorage. The sleeve sets the distance, so do not add your own allowance - you would end up one size too long.
Two traps when selecting
Batten thicker than 40 mm. Do not recalculate yourself - we confirm it with the manufacturer.
Odd thickness. Take the higher row - a short screw misses the 90 mm anchorage invisibly.
The product data sheet on the product page has the length table and installation sequence, but no load capacities. These are calculated for the specific wall and cladding with the manufacturer’s design software - we help prepare the data.
Three items in the order, not one
Two of three items look like accessories in the catalogue:
| Item | How many | Note |
|---|---|---|
| EiSYS-2 adjustable screw | as many as fixing points | pack of 50, one length per pack |
| EiSYS-2 expansion plug Ø 10 × 130 mm | one per screw in masonry or concrete | item no. 945404 |
| EiSYS-2 driver bit 10 × 50 mm | at least one; a spare on large facades | item no. 945936 |
The bit combines a TX 30 drive with a hexagon that grips the sleeve: position 1 drives the screw, position 2 adjusts. An ordinary TX 30 bit drives but cannot adjust.
Installation step by step
Per the manufacturer’s data sheet and catalogue:
- With insulation and batten in place, drill Ø 14 mm in the batten.
- Drill Ø 10 mm through the insulation into the masonry, 90 mm anchorage depth, and clean the hole.
- Fit the plug onto the screw and insert both together - not the plug first.
- Position 1: drive until the head seats in the batten.
- Position 2: set the distance.
From site practice: do step five once a wall’s screws are anchored, setting the plane with a string line, not point by point. The Ø 10 mm drill must reach full depth through batten and insulation.
Substrate - what to check before ordering
The plug holds by expansion, so the substrate largely governs capacity.
- Concrete, solid brick, sand-lime brick - the typical case.
- Perforated clay brick - provided for; capacity set by the designer or design software.
- Autoclaved aerated concrete - listed in the data sheet but excluded by the manufacturer’s design form. Write to us before ordering.
- Timber frame - provided for; screw into timber without the plug, method confirmed with the manufacturer.
- Old masonry with crumbling joints - designer’s assessment first.
Screw spacing and wind suction
Spacing depends on cladding weight, batten section, wind zone, building height and point capacity - which differs several times between concrete and perforated brick.
- Corners and edges of the facade - EN 1991-1-4 applies higher suction in edge zones, often requiring closer spacing.
- Batten spacing follows from the cladding; screw spacing follows from the loads and the capacity of the connection.
- When ordering, count fixing points, not metres of batten.
For inspected facades, ask the designer which documents are required - see the guide to the European Technical Assessment ETA.
Aluminium bracket or adjustable screw
Two different solutions, not chosen by price:
| Aluminium bracket | EiSYS-2 adjustable screw | |
|---|---|---|
| Through the insulation passes | the bracket web | a Ø 7.2 mm shank |
| Thermal bridge | point, through the bracket | point, through the shank - include it in the wall calculation |
| Setting the plane | bracket projection, often with packers | with the sleeve after anchoring |
| Substructure | metal profiles or timber | timber battens only |
| Insulation | depends on the bracket system | 60-280 mm, pressure-resistant and non-pressure-resistant |
Adjustable screw vs spacer screw
A spacer screw usually holds a fixed gap between two members, such as a window frame and masonry, or two timber members.
An adjustable facade screw such as EiSYS-2 also holds the batten off the wall, but the distance can be changed after anchoring. To level battens on an uneven wall, you need that adjusting function. Other systems for flat walls are in the Facade fastening category.
When EiSYS-2 is not the right choice
- Battens directly on the wall, with no insulation. Timber frame: a designed construction screw; masonry: an anchor, not a wood screw.
- A substrate in which the expansion plug does not hold - see above.
- Metal substructure. EiSYS-2 is intended for timber battens only.
- Battens of tannin-rich timber. Hardened, blue-galvanised carbon steel, not suitable for tannin-bearing timber per the manufacturer; service classes 1 and 2 to Eurocode 5, to be confirmed by the design.
- Insulation over 280 mm or very heavy cladding - that is a case for the designer.
Frequently asked questions
Which screw for 200 mm of mineral wool?
With a 40 mm batten - EiSYS-2 7.2 × 338 mm. With a different batten thickness we confirm the selection with the manufacturer.
How many screws per square metre?
There is no single number - it follows from the calculation for your wall, cladding and wind zone.
What do I use to screw facade boards to the battens?
A cladding screw matched to the species. The black Hapatec (hardened stainless) is not for oak, cumaru, merbau or robinia. The thin Hobotec Ø 3.2 mm is for cover strips, not boards. Steel choice: the A2 or A4 guide.
In short
EiSYS-2 is three items: screw from the table (40 mm batten, no allowance), plug per screw in masonry, the bit. Ø 14 in the batten, Ø 10 through insulation, plug on screw, position 1, then level in position 2.
Unsure? Write to us with insulation, batten and wall details. The whole system is in the Facade fastening category.
Product from this guide
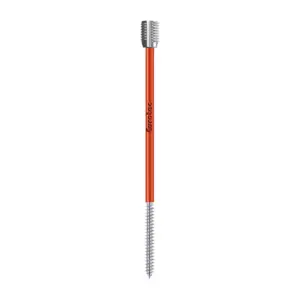 EiSYS-2 façade/adjusting screw
373,92 zł - 2 009,21 zł incl. VAT
EiSYS-2 façade/adjusting screw
373,92 zł - 2 009,21 zł incl. VAT
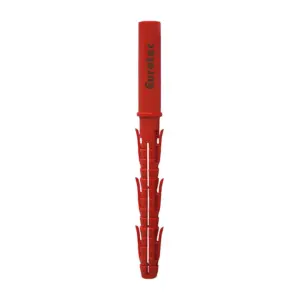 EiSYS-2 Plug
3,76 zł incl. VAT
EiSYS-2 Plug
3,76 zł incl. VAT
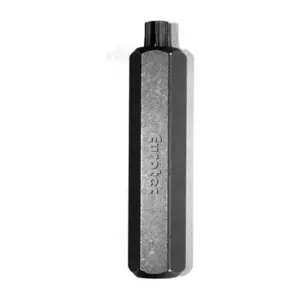 EiSYS-2 Bit
91,79 zł incl. VAT
EiSYS-2 Bit
91,79 zł incl. VAT
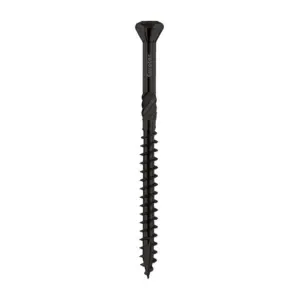 Hapatec black - screw for cladding and decking boards
159,11 zł - 496,38 zł incl. VAT
Hapatec black - screw for cladding and decking boards
159,11 zł - 496,38 zł incl. VAT
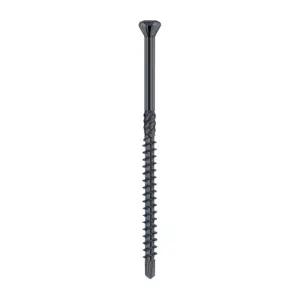 Hobotec ornamental head, hardened stainless steel, black
355,16 zł - 615,14 zł incl. VAT
Hobotec ornamental head, hardened stainless steel, black
355,16 zł - 615,14 zł incl. VAT